
I recommend using acid free double sided tape. You can find some great options in the scrapbook section of the craft store. The tape I used costs around $3 and will provide you plenty of tape for multiple projects.
If your needlework is wrinkled, I really recommend that you iron it first on the back side of the fabric. It just looks so much neater than a wrinkled piece, in my opinion. If it only needs a little touch up, you can iron it dry, face down on a low setting, but if it is really wrinkly, you may need to wet the entire piece and then iron it face down on a low setting until dry. Again, please be sure that you iron the back side of the fabric and not the front!
Step 1 - position your work in the frame according to your liking, and carefully stretch the fabric and tighten the screw of the hoop.

Step 2 - trim off the excess fabric to leave a 3/8 inch - 1/2 inch allowance
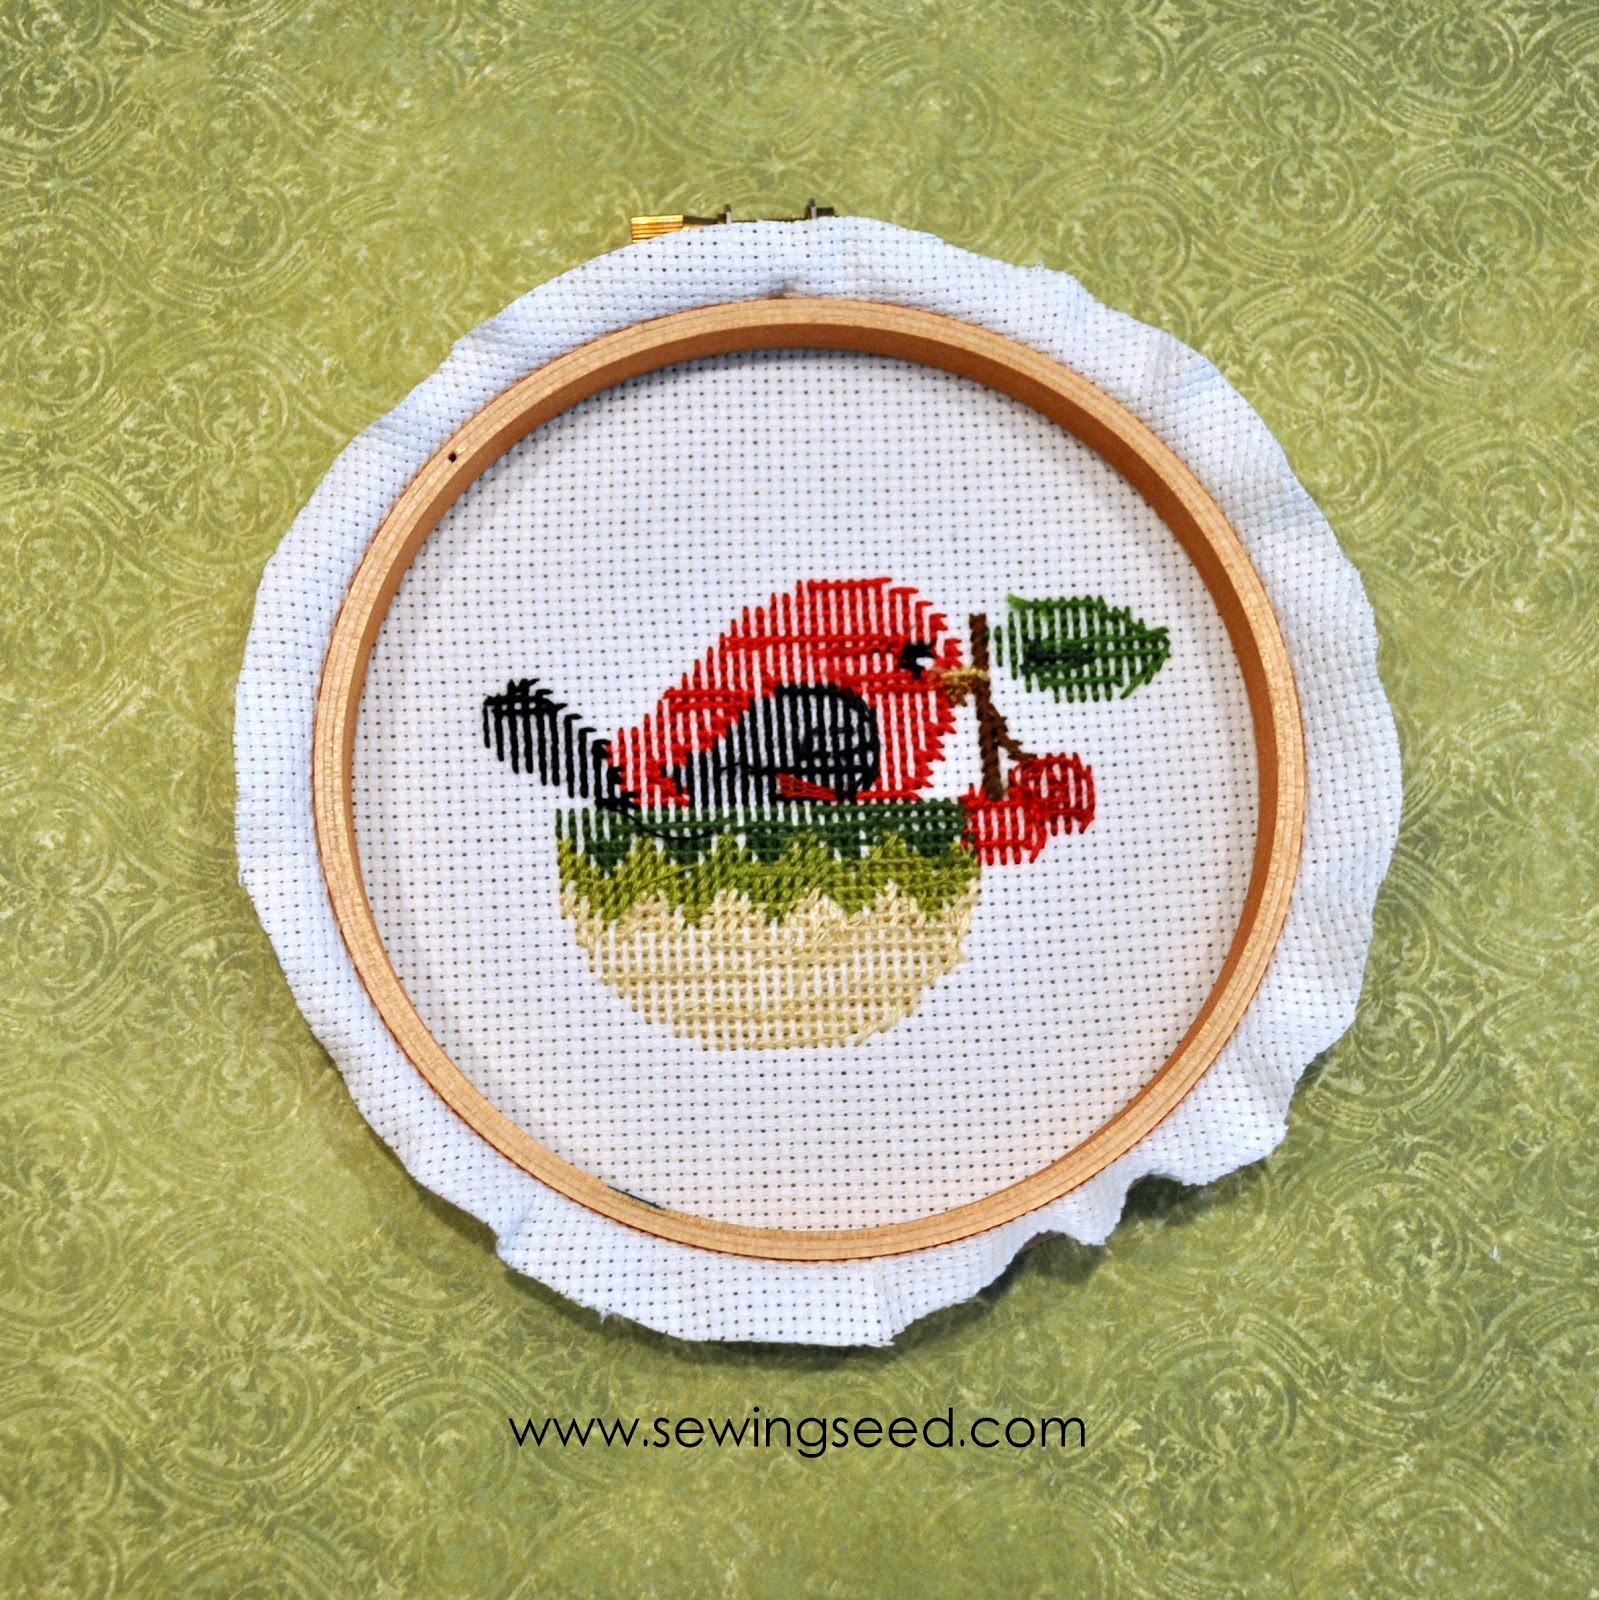


Step 4 - If you are using double sided tape that has a backer strip, remove it completely.

Step 5 - Begin wrapping the excess fabric over the hoop, working your way around while pressing firmly.


You now have a securely wrapped hoop!

For an extra finishing touch, you can cover the back with felt, fabric, or paper, if you like.


