So you want to learn how to cross stitch, but you haven't the slightest idea where to begin. I am going to show you step by step how I complete a project. Again, this is the way I do it. It's not written in stone that it has to be done this way. That's what is so great about cross stitching, you can really work in whatever direction you want to. If it makes sense to you to start in a different place, feel free to do so. As long as you follow the pattern, the end result will be the same.
First, you need a design, right? Right! So I made a simple apple for the purpose of this tutorial. The design size is 1.29 x 1.43 inches (3.3 x 3.6 cm).
The colors you will need are right here:
Supplies
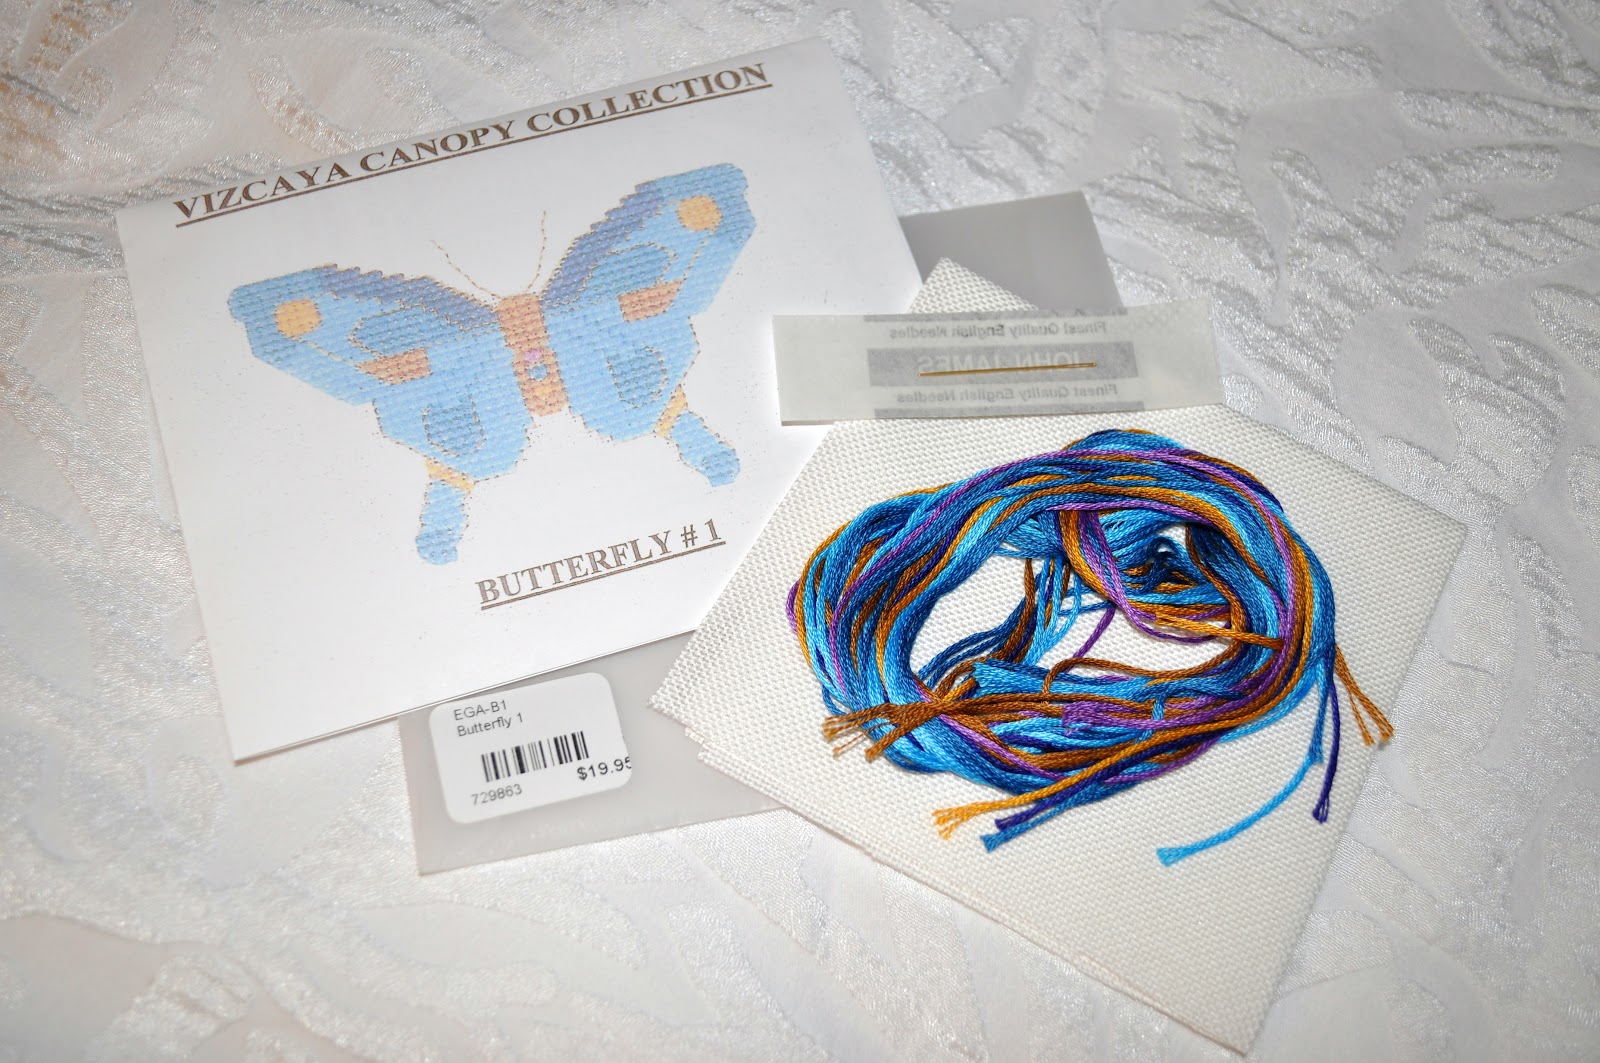
You will need some cross stitch fabric. I am using an 8 inch (20.3 cm) piece of 14 count white aida. You will also need a cross stitch or tapestry needle which has a blunt tip rather than a sharp tip. The blunt tip allows the needle to glide smoothly through the holes in the fabric without snagging like the sharps do. I like a size 24 needle, but 26 is good also, it's just a little smaller. Next, you will need scissors, a hoop, and some embroidery floss. I am going to start with DMC color #907, for two reasons. First, to show you how to start when a color isn't exactly at the center and second, there is not much of it in the pattern, so we will get almost instant gratification :) We will then move on to the other colors.
Fabric
Are you ready? Here we go. You will need to find the center of your fabric. To do this, you fold the fabric in half like this:
Then fold that in half like this:
Mark the center by putting a pin or needle through the hole nearest the very corner at the folded end, like this:
When you unfold your fabric, you will see the center. This is where you will begin the counting process:
I am going to take a moment here to talk about the fabric. This is 14 count aida cloth. That means there are 14 stitches in an inch of fabric. The cloth has equidistant holes and these holes are where you put your needle.
Normally, if you are going to be stitching something that is going to take more than a day or two to complete, you will want to prepare the fabric so it doesn't unravel. There are many ways to do this.
1 - Use fray check or some liquid fray preventing product on the edges;
2 - Overcast the edges with your sewing machine or by hand, with a zig zag stitch or whip stitch;
3 - Use masking tape folded over the edges (half on the front edge, half on the back edge) so it looks like a masking tape frame around your fabric. Wait a minute...won't that make it sticky? Absolutely! which is why I don't use it, but I know lots of people who do. So if you are going to use masking tape, make sure you leave enough excess of the fabric so when you have finished stitching, you can just cut it off. Or, take it off very quickly! Believe me, you do not want to fight with year old masking tape. It's not coming off easily.
For this tutorial, I am not going to do anything with the edges because it won't take long to stitch the apple.
At this point, go ahead and center your fabric in your hoop and make sure it's good and taut.
Floss
So let's take a look at the floss. Cut your floss in lengths of 18 to 24 inch lengths. I use 18 inch lengths, but some people don't like to thread their needles as often, so if that sounds like it might be you, then use 24 inch lengths. You can cut it off the skein in longer lengths if you choose, but the longer you cut it, the more it will give you a hard time and try to knot on you while you pull it through the fabric.
In the picture below, notice that embroidery floss is made up of 6 individual strands. I have separated the ends so you can see each individual strand more clearly.
You need to separate each strand one at a time or they will get all bunched up and tangle into a big mess and you'll have to throw out the whole cut. One common mistake first time stitchers make is using the entire cut without separating the strands (Yes, I mean they use all 6 strands). That much floss makes it too difficult to get through the holes in the fabric. You will want to use the number of strands recommended in the chart. Usually, this is 2 or 3 strands. I prefer 3 strands since it shows less fabric through the stitches than 2 strands does. It gives your finished work a fuller look, in my opinion. So, we are going to use 3 strands each time we thread the needle.
As I said earlier, you want to separate the strands one at a time to avoid tangling. Trust me, save yourself the aggravation and take 2 extra seconds to do it. You will thank me later. Carefully pull one strand at a time while you are holding onto the other threads and work it out little by little.

Let's take a minute to discuss threading your needle. Hold on, it's not as no brainer as you think. In the picture immediately following, you will notice that I do not bring the ends of the floss together. You want to leave a couple of inches. If you need to correct a mistake in your stitching, you can simply unthread your needle, pull out the stitches, and pick up where you left off. If you bring the ends together (as shown in the second picture below) as you stitch, the entire length of thread becomes woven into the fabric, giving you no way to unthread the needle. The only way you can fix something is to force the needle back through (you do not want to do this) or cut the floss (you don't want to do that either). Another drawback to bringing the ends of the floss together is the needle will remain at the same point and as you stitch, it will wear into the floss causing it to weaken and eventually break. When you leave your needle free to move, you can move it from time to time up the length just a smidge so that the thread does not weaken at any given spot. So here is the needle threaded with 3 strands of floss:


Now we are ready to stitch. As I said, this part of the tutorial is getting you started and working with color #907 which is represented by a box that is light green with a black heart inside. We will work with the other colors in the next portion of the tutorial.

Since we are beginning at the center of our fabric, you want to find the center of the chart. (center of chart = center of fabric) See the black arrows on the chart? Find the point where they all intersect and you find the center of the chart, which I have marked with the red arrow. In reality, with this apple, you can start with the color 906 (green square) that is actually closest to the center, but that won't exactly teach you what to do when you are all by yourself and have a chart that doesn't have a color right at the center. So we are moving over to color 907 and are going to practice counting. Ultimately, there is no wrong way to work a graph. You can go up, down, side to side, whatever. Just pick a way that you feel most comfortable with.
I am starting with the center row and then working up, then back down to complete the color section. So the beginning of that row is 6 spaces left of center. You can see the highlighted row I will start with here:
Cross stitches are made by making a row of stitches like this //// (going from the lower left to the upper right) and then working back over like this \\\\ (going from bottom right to upper left). So let's get going. From the center point, count over to the left 6 spaces (holes) and bring the needle up from the back side to the topside of the fabric.
Bring your floss all the way through the fabric except for about an inch (2.5 cm) you will want to hold on to with your finger on the back side, like this:
Keep your finger holding on to the floss so that you won't pull the thread all the way through the fabric. Now go back down from the topside of the fabric to the backside of the fabric in the hole that is to the upper right from where you began:
Then continue in the same fashion for the remaining stitches and be sure you are locking down your thread with the stitches from the back side like this:
Here is the row of three and we will begin working back in the other direction (\\\\)
Here is the first stitch working back:
And the completed row:
Work you way upward following the chart like this:
And then complete the next row above, like this. And then move down as shown to pick up the rest of the stitches with color 907
Here is the completed row:
And the next row, then moving on to the final stitch:
When you are finished, lock your thread by running your needle under several stitches from the backside, like this:
Then cut off your excess thread. You want a nice and tidy back like this:
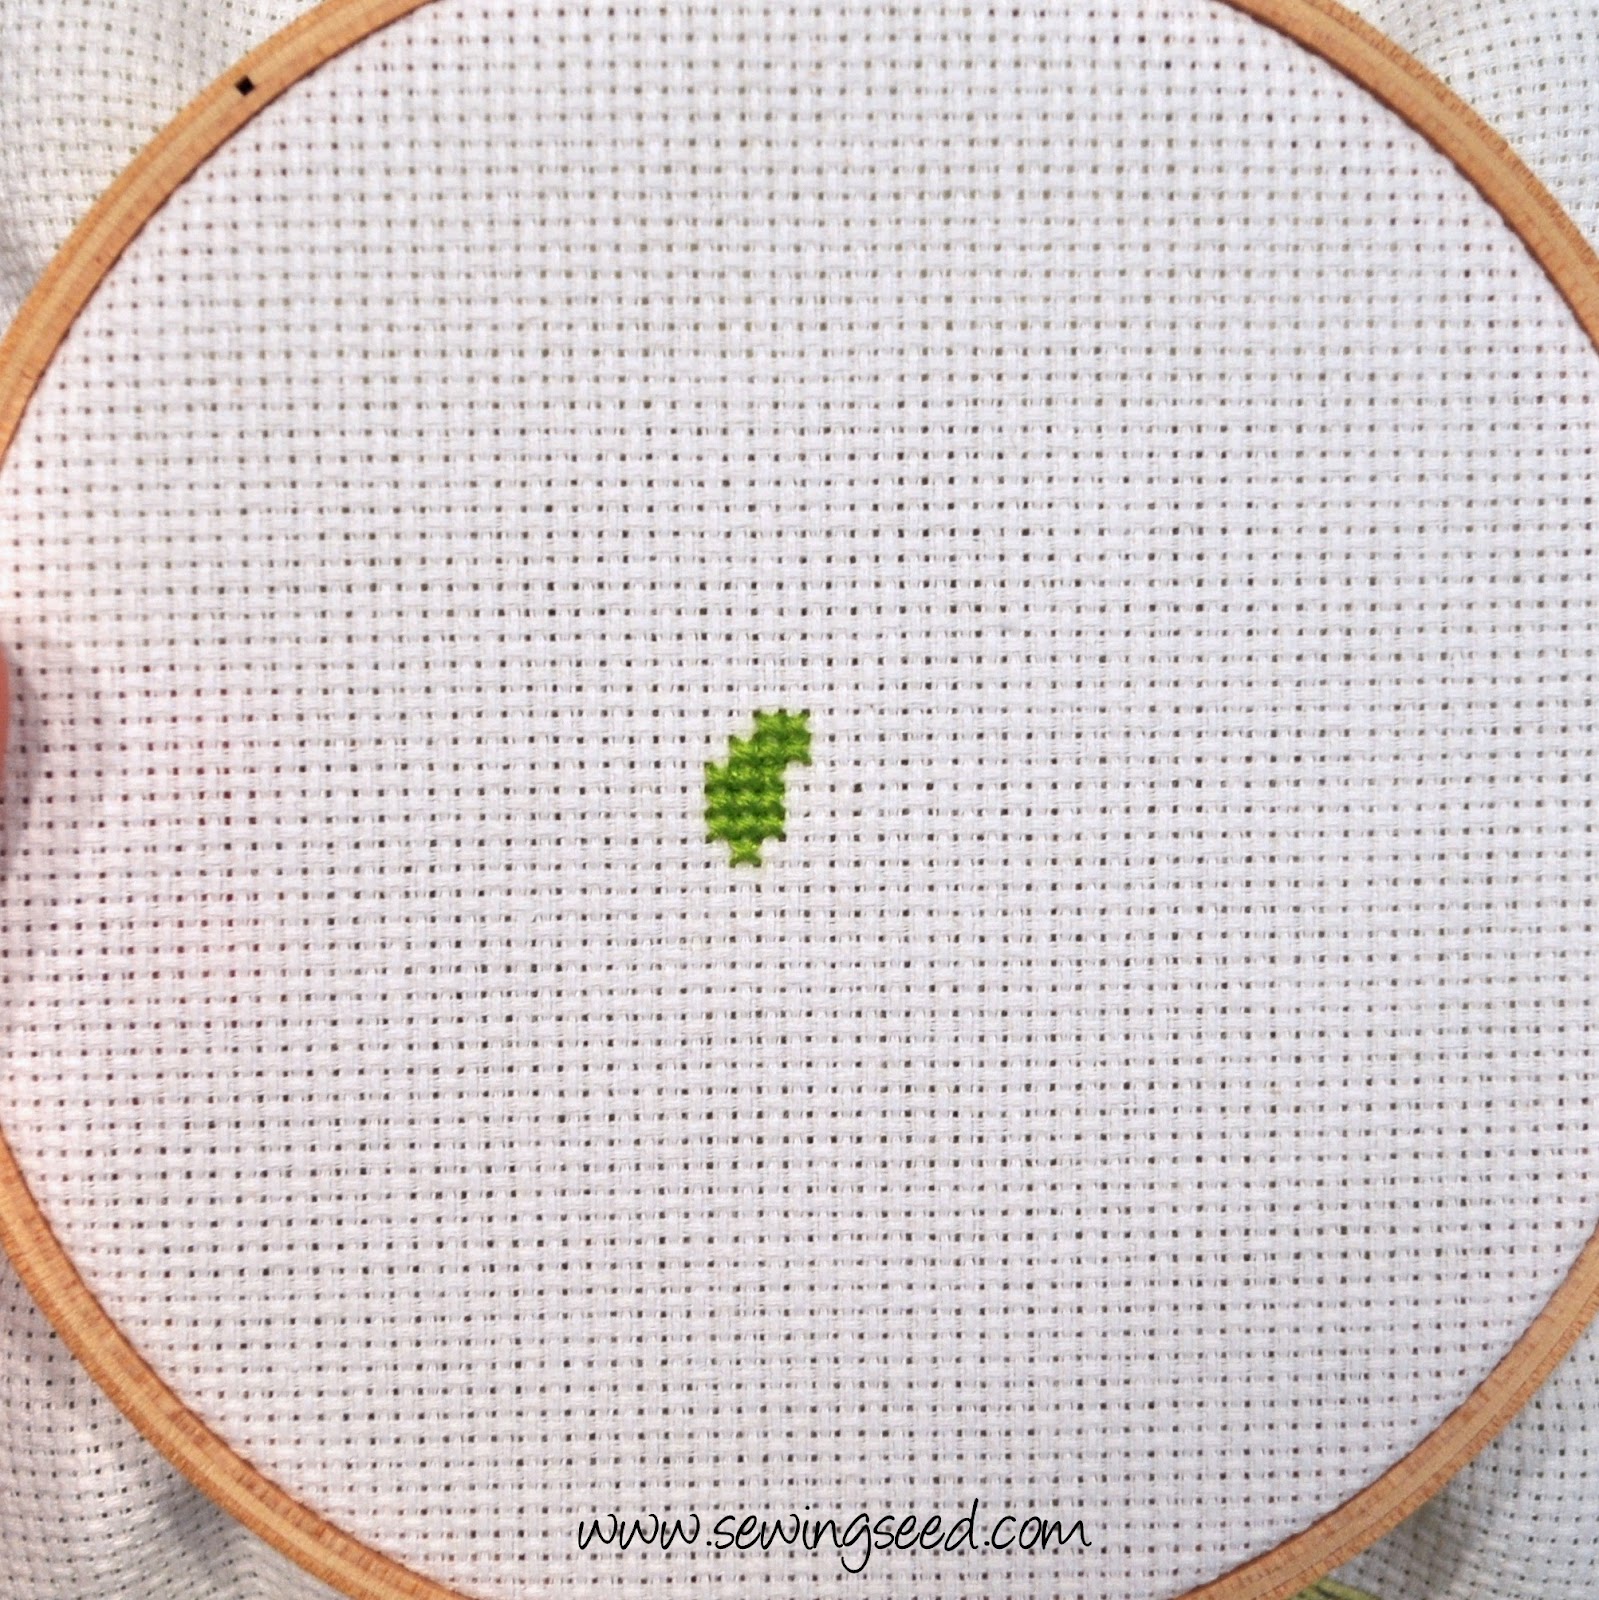
And here is the finished block of color #907:
Now that we have completed that portion, we can move on to color #906, which is represented by the green with the square inside. I am going to begin with the highlighted section shown on the chart:
Thread your needle in the same fashion as before:
Let's begin working from left to right, like this ///////
Now you can complete the stitches by working from right to left \\\\\\\, and work your way down:
After you complete this row, you will most likely need to lock your thread down, since that will be a nice stopping point, and thread your needle again and start a new row as shown here:
Then keep working your way down:
Go ahead and lock your thread under this row.
Now we are moving to the farthest left point of the row with a freshly threaded needle and will stitch the four stitches on the chart, and then move down to the next row:
At this point, go ahead and lock your thread under several stitches of the last row like this:
Beginning again with fresh threads, complete the next rows:
After you have completed that row, lock your thread down and thread your needle again:
Then pick back up with the next row:
Now when you get to the last row, you want to stitch over three squares of the fabric, skip two, then stitch three more squares, and then lock your thread:
Now that we've finished with the lower part, we can begin working back up the apple. Start with a freshly threaded needle and begin here:
Work your way back:
Now you will get to practice working upward from a stitch that ends where you are normally used to starting. Since you can't start there (You will undo the last stitch), you have two options: You can either start from the upper right corner and work to the lower left corner (which will give you a stitch that looks the same "/"; or you can move over to the next square complete the row and then catch that last stitch at the end. But that only works if there is another stitch you can move to. So what I recommend is working you way from the upper right to the lower left, like this:
Then you can complete the row as normal, working from lower left to upper right, for the rest of the row.
And when you get to the next rows, just do that first stitch backwards, from upper right to lower left:
After completing this row, you can continue stitching normally:
After you have completed this row, lock your thread down:
Then thread your needle and start the next row:
Then on the last row, stitch five squares, skip two, then stitch five more:
Now that you have finished the 906 color, lock your thread down, and move on to color 869:
Run your thread under the nearby green, like this:
Start working upward like this:
Then work your way back down like this:
Then lock your thread under the green stitches to lock, like this:
Now we can finish with the 699 color. I am starting at the top of the 699 color section and working down:
Now you can lock your thread:
And once again, here is the completed apple:
I hope this tutorial helps you understand the process of cross stitching. If you have any questions, I would be happy to answer them, just send me an email :)
xo,
Tina
Some basic tips:
1 - Make sure your hands are clean!
2 - Don't eat while you are stitching!
3 - Don't pull too hard! You want consistency with your stitching so try to use the same tension.
4 - Every so often let your needle hang down to unwind. This will help keep your stitches flat and smooth on the fabric, instead of twisty and bunchy (yes, those are real terms).
5 - Don't span large gaps with your thread (you know, stitching over here with red and then going all the way over there on the fabric with the same red). End your stitching in the one spot and start a new spot over there. You don't want all of that spaghetti on the back of your fabric!


